Elementor columns help you to make awesome layouts for your website and landing pages.
So I am going to outline some of the most commonly used examples to work with Elementor columns.
Add Columns to Elementor Page
Elementor gives you the option to add different predefined columns layout to add to your page directly.
By using those layouts you can easily add 2 columns, 3 columns, 4 columns, and some other columns layouts to your page.
To use these predefined Elementor columns layouts, you can follow the steps:
- Open a page with Edit with Elementor and you will find an option to add different structures, widgets & templates.
- Click on the plus (+) button to add a section

- Then, it will ask you to choose column layouts from Elementor’s pre-defined columns layout.

- You can select the column layout as per your requirements and that column layout will get added automatically to the page.
Change Number of Columns in Elementor
Let say, you want to modify the layout design, and as part of that, you want to change the number of columns available in any section.
You can change the number of columns in Elementor by either deleting or adding a column and to do that you can follow the steps:
- First hover on a section, and right-click on column icon at the top left.
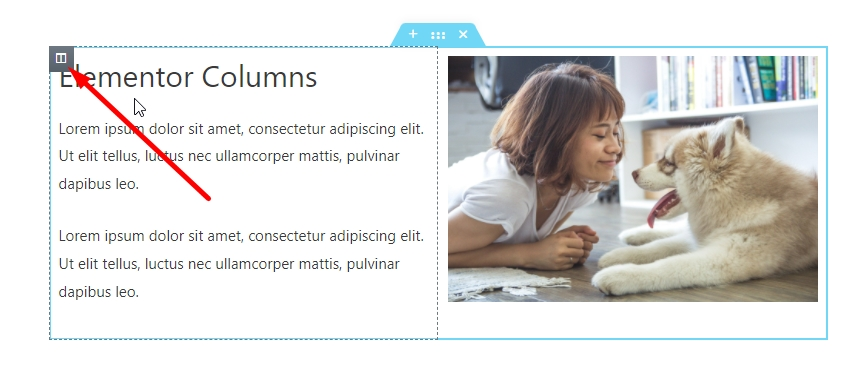
- It will show you different options for column, as shown below.
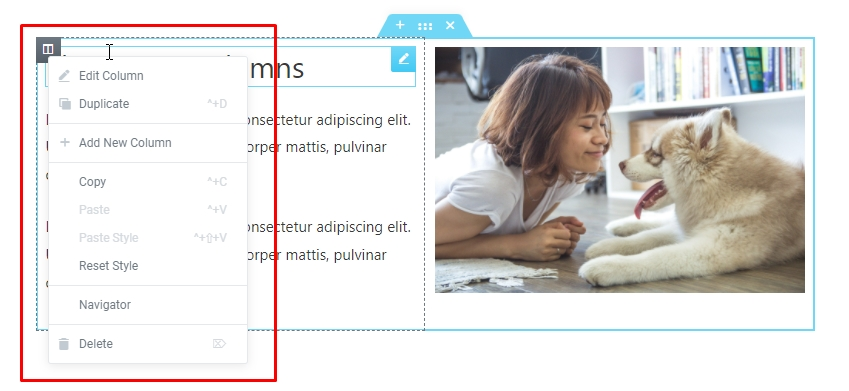
- With these options, you can easily either add new column or delete column from the current section.
Duplicate Elementor Column
Duplicating a column helps you to quickly add a new column with all the column settings, style, and content.
To duplicate a column with Elementor, you can follow the steps given below:
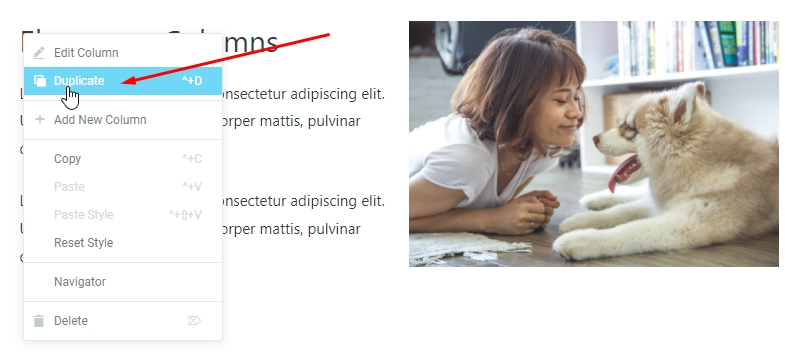
- Right Click on the column icon, and you will see Duplicate option.
- Click on Duplicate, and it will automatically add a new column with the same content and column settings & style to that section.
Remove Space Between Columns
By default, Elementor columns have extra space around the column. You can remove that space by setting the padding for the columns to zero.
Let me show you how you can do that.
- First select the columns, and click on the advanced setting tab in the left panel
- In the padding option, set padding for all sides to 0 (zero) and this will remove the space between columns.
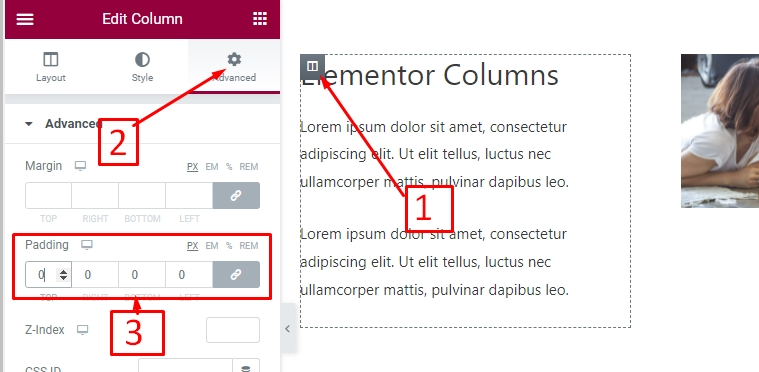
- You can adjust the space between columns by increasing or decreasing the padding for columns.
Manage Column Width in Elementor
Apart from the Elementor predefined column layouts, Elementor columns also come with an option to adjust column width.
You can easily adjust column width using the following steps:
- First select the column and click on the layout tab in the left panel.
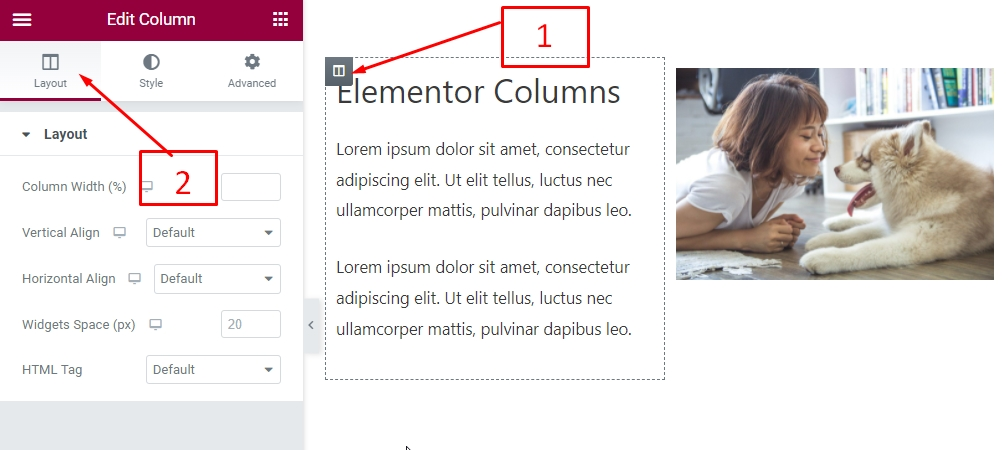
- In the Column Width option, you can set the width for the column to adjust the column size.
Remember: You can only set column with in percentage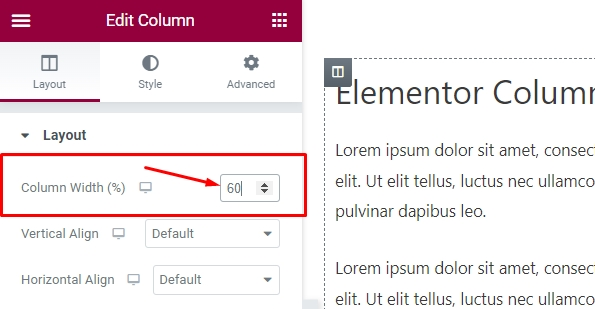
- You can also set the vertical and horizontal alignment and other layout settings for the column under this tab.
Manage Column Height in Elementor
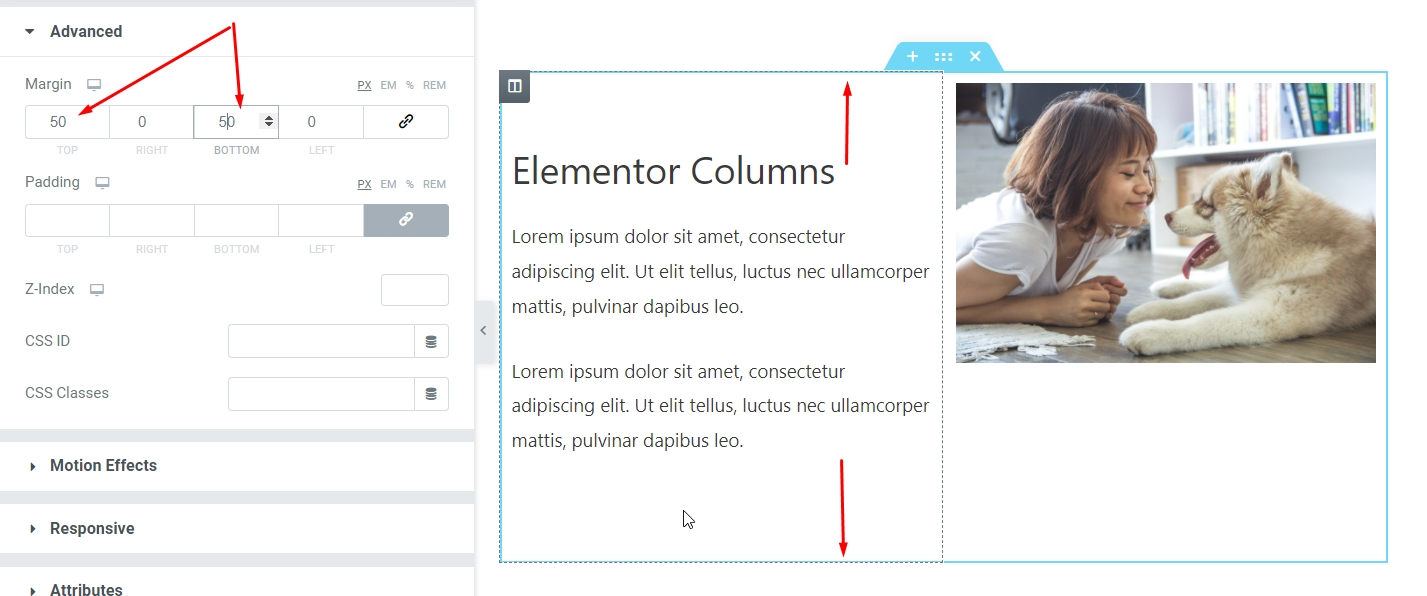
To adjust column height, you can add margin or padding to the top and bottom of the column. To do that you can follow the steps:
- First click on the Column icon at the top left to select the column.

- As you will click on the column icon, it will open the column settings in the Elementor left panel.
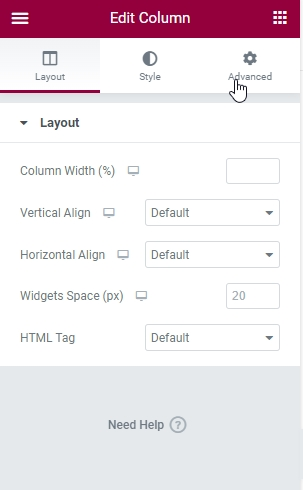
- Click on the Advanced tab, and you will see option to set column margin & padding.
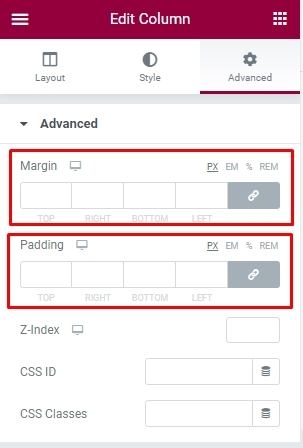
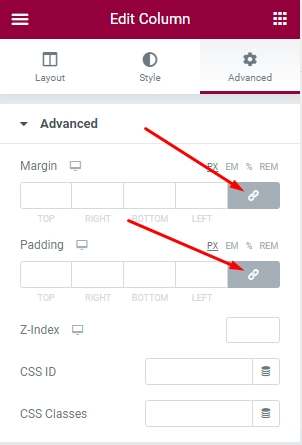
- Click on the chain icon to de-link the margin and padding values, so you can add different values for top and bottom.
- Add the margin to the top and bottom, and it will increase the column height by adding extra margin to the column. you can also try with padding as well.
Separate Columns in Elementor
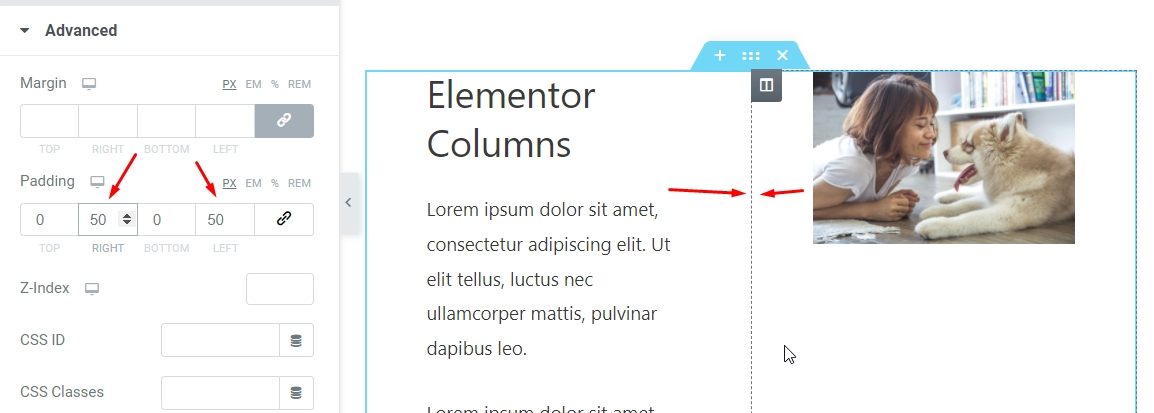
You can separate columns by adding padding from left and right to the column. You can follow the steps:
- First click on the column icon and select the column.

- In the left panel, click on Advanced tab and you will see option to add padding.
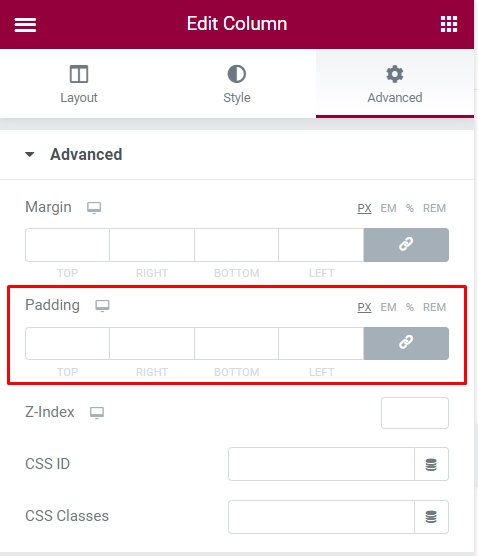
- Click on the chain icon to De-link padding values, so you can add different values for left and right padding.
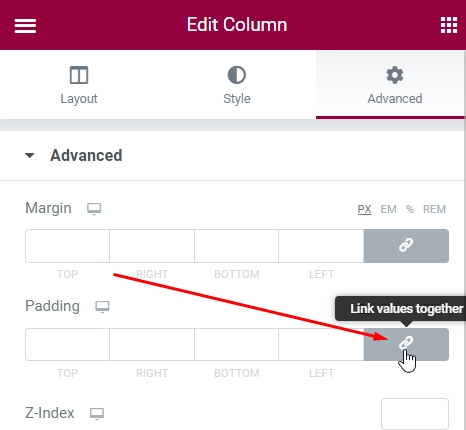
- Add padding to the left and right for the column or adjust the padding as per your needs and it will automatically separate your current column with others.
